
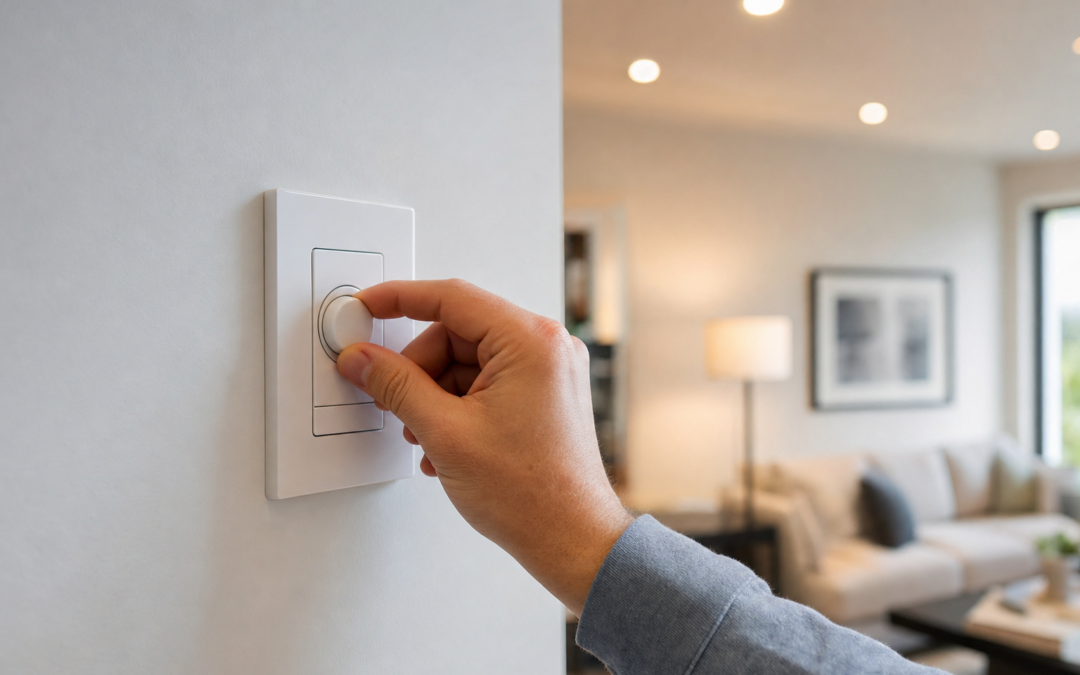
Upgrading to dimmable LED lighting is a popular choice in home remodels, but pairing the right dimmer switch with your chosen LEDs is more complicated than it seems. The wrong combination can lead to flickering, buzzing, or even shortened bulb life. Whether you’re replacing an old fixture or planning a full-room revamp, understanding dimmer switch and LED compatibility is crucial for getting the seamless, adjustable lighting you expect.
This guide breaks down the essentials of pairing dimmer switches with modern LED bulbs and fixtures. We’ll cover what compatibility really means, the differences between dimmer types, and how to troubleshoot common issues. If you’re looking for smart lighting solutions, check out our in-depth electrical hub for related guides and product reviews. Here, we focus on traditional and modern dimmer switch pairing for LEDs in remodels.
Why Dimmer Compatibility Matters with LEDs
Unlike old incandescent bulbs, LEDs are electronic devices, not simple filaments. This means they react differently to changes in power delivered by a dimmer switch. Many issues arise when a standard dimmer—designed for incandescent loads—is paired with an LED bulb or fixture. Problems include:
- Flickering: The light blinks or flashes, especially at low dimmer settings.
- Buzzing: Audible noise from the switch or bulb, caused by incompatible electronics.
- Poor Dimming Range: The light may only dim a little, or cut out entirely below a certain brightness.
- Reduced Bulb Life: Incompatibility can stress the bulb’s circuitry, leading to early failure.
These issues can be avoided by understanding the interplay between the type of dimmer and the LED bulb/fixture you select. Let’s break down what you need to know before you buy.
Types of Dimmer Switches: Basics for Remodelers
There are several types of dimmer switches, each designed for different lighting technologies:
- Incandescent Dimmers: The most common in older homes. Designed for resistive loads (traditional bulbs), they often do not work well with LEDs.
- Magnetic Low Voltage (MLV) Dimmers: Used for certain low-voltage lighting systems (track/landscape lighting).
- Electronic Low Voltage (ELV) Dimmers: Work with electronic transformers, often required by modern LED fixtures.
- LED-Compatible Dimmers: Specifically engineered for dimming LEDs. These are your safest bet for most residential remodels.
Always check the dimmer’s packaging or product details to see if it’s rated for LED loads. “Universal” dimmers are often a good choice, but even then, double-check for compatibility with your chosen LED bulbs or fixtures.
How to Check LED and Dimmer Compatibility
The most reliable way to ensure smooth dimming is to match your dimmer switch with LEDs listed as compatible by the manufacturer. Here’s how to do it:
- Read the LED Bulb’s Packaging: Many major brands include a list of compatible dimmers or refer you online for the latest information.
- Check the Dimmer’s Ratings: Look for “LED” or “CFL/LED” on the box, and note the minimum and maximum load ratings (in watts).
- Review Manufacturer Compatibility Lists: Most dimmer and bulb brands publish regularly updated compatibility charts online. Use these to cross-reference your options.
Don’t assume any dimmable LED will work with any dimmer switch. Even among “dimmable” LEDs, the electronic drivers can vary, affecting performance. For best results, stick with combinations that are explicitly listed as compatible.
Understanding Load Ratings and Minimum Loads
Dimmers are rated for a certain wattage range. With old bulbs, this was straightforward: a dimmer rated 600W could handle ten 60-watt bulbs. LEDs, however, use far less power, and some dimmers require a minimum load to function correctly. If your total LED wattage is too low, you might experience flickering or no response at all.
For example, if your dimmer requires a 40-watt minimum and you have four 8-watt LED bulbs (32 watts total), the dimmer may not work properly. Always add up the wattage of all connected bulbs and check both the minimum and maximum load requirements for your dimmer switch. Choose a dimmer rated specifically for low-wattage LED loads when necessary.
Single Pole vs. 3-Way vs. Multi-Location Dimmers
In remodels, you may need to replace or add dimmers in various switch setups:
- Single Pole: Controls lights from one location. Most straightforward for dimmer installation.
- 3-Way: Controls lights from two locations (e.g., top and bottom of stairs). Requires compatible 3-way dimmer switches.
- Multi-Location: Advanced systems allow dimming from three or more locations, often using companion switches.
For 3-way or multi-location setups, you’ll often need a “master” dimmer and one or more “companion” switches. Always check product requirements before purchase, and when in doubt, consult the manufacturer’s wiring diagrams or a licensed electrician.

Kasa Smart Light Switch, Single Pole, Need Neutral Wire, HS200 Review — An editorial look at this Kasa Smart option for light switches — specs first, marketing second. Key figures include 2.4 , 1.5 , 0.33 pounds.
Choosing Quality LED Bulbs and Fixtures for Dimming
Not all LEDs are created equal when it comes to dimming. Some budget bulbs labeled “dimmable” may perform poorly, even with a compatible dimmer. Here’s what to look for:
- Brand Reputation: Established brands like Philips, Cree, GE, and Sylvania tend to offer better dimming performance and more reliable compatibility documentation.
- Driver Quality: The internal electronics (driver) of the bulb or fixture determine how smoothly it dims. Cheap drivers are more likely to flicker or buzz.
- Color Temperature Consistency: Some LEDs shift color as they dim. Look for bulbs labeled “warm dimming” or “incandescent-like dimming” for natural color transitions.
- UL Listing: Ensures the product meets safety standards for use with dimmers.
Whenever possible, buy a single bulb or fixture and test it with your dimmer switch before committing to a large quantity for your remodel.
Common Dimmer and LED Pairing Problems (and Solutions)
Even with the right products, occasional issues can crop up. Here are the most common problems and how to address them:
- Flickering at Low Levels: Try raising the dimmer slightly or swapping to a higher-quality bulb. Some dimmers have an adjustment dial to set the low-end threshold.
- Dead Zones: The light stays the same brightness over part of the dimmer range. This is often due to driver limitations in the bulb; try a different brand or model.
- Buzzing Noise: Usually happens when the dimmer and bulb electronics conflict. Upgrade to a dimmer specifically rated for LEDs, or try different bulbs.
- Lights Won’t Turn Off Completely: Some dimmers leak a small current even when “off,” which can cause LEDs to glow faintly. Choose a dimmer with a true “off” function, or try bulbs with better driver circuitry.
If you’ve checked compatibility charts and still have problems, try calling the dimmer or bulb manufacturer’s technical support. They often have detailed advice for tricky cases.
Installation Tips for Remodelers
Installing a dimmer switch is a manageable DIY project if you’re comfortable with basic wiring, but remodeling situations can introduce surprises. Here are some tips to avoid common pitfalls:
- Turn Off Power: Always shut off the circuit breaker before removing or installing any switch.
- Check for Neutral Wires: Many modern dimmers (especially for LEDs or smart switches) require a neutral wire in the switch box. Older homes may not have this, so check before purchasing.
- Label Wires: Take photos or use tape to mark wires as you disconnect the old switch, so you can reconnect correctly.
- Follow Manufacturer Instructions: Dimmer switches vary in installation details; always consult the included instructions.
- Use Companion Switches for 3-Way/Multi-Location: Don’t mix and match different brands or types in multi-location setups.
If you’re unsure about wiring, hire a licensed electrician—especially for complex remodels or multi-way switching.

Kasa Smart Plug Mini 15A, EP25P4, Apple HomeKit Supported Review — Kasa Smart outlet switches gear aimed at buyers who want clear specs before they click through. Key figures include 1800W, 4, 2.62 .
Special Considerations for Under-Cabinet and Accent Lighting
LED strip lights, under-cabinet bars, and accent fixtures are popular in remodels, but they bring unique dimmer compatibility challenges. Some systems use plug-in power supplies, while others hardwire into a wall switch. Here’s what to watch for:
- Check Power Supply Type: Many LED strips use electronic drivers, which typically require an ELV dimmer. Plug-in units may not be dimmable at all unless specified.
- Use Compatible Controllers: Some accent lighting systems come with their own dimming remotes or wall modules. Don’t add a wall dimmer unless the system is designed for it.
- Match Dimming Technology: If your fixture says “TRIAC dimmable,” it will usually work with standard wall dimmers; “0-10V dimmable” fixtures require a special low-voltage dimmer and wiring.
For best results, use under-cabinet or accent lighting products that clearly state “compatible with wall dimmers” and check for recommended dimmer models on the packaging or manufacturer website.

GE HD Edge-Lit LED Under Cabinet Light Bar, 5CCT Dimmable, 36in Review — An editorial look at this GE option for under-cabinet lights — specs first, marketing second. Key figures include 10 , 5 , 93131739.
Retrofitting Existing Fixtures and Switches
If your remodel involves keeping existing fixtures but upgrading to LEDs, you may need to update the old dimmer switch as well. Here’s how to approach a retrofit:
- Identify the Existing Dimmer Type: If it’s labeled “incandescent” or is 10+ years old, it likely won’t work well with LEDs.
- Replace with an LED-Compatible Dimmer: Choose a model specifically rated for use with LEDs. Universal dimmers are a good choice if you’re mixing bulb types.
- Test Before Finalizing: Try a single LED bulb in the fixture with the new dimmer before replacing all bulbs. This helps you catch any compatibility issues early.
- Consider Fixture Age: Very old fixtures (pre-1980s) may not be ideal for LED retrofits, especially if the internal wiring is brittle or corroded. Replace if in doubt.
Retrofitting is usually straightforward, but always double-check load ratings and compatibility to avoid headaches down the line.
Future-Proofing Your Remodel: What to Buy Now
Lighting technology continues to evolve. While smart switches and bulbs are gaining traction, traditional dimmer switches will remain popular for years. To future-proof your remodel:
- Install Neutral Wires Where Possible: If you’re opening walls, run a neutral wire to every switch box. This supports the widest range of modern dimmers and smart switches.
- Choose Universal or Multi-Technology Dimmers: These can handle LEDs, CFLs, and incandescents, so you’re covered if you change bulb types later.
- Stick with Major Brands: They’re more likely to keep compatibility lists up to date and offer support for new products.
- Document Your Choices: Keep a record of the dimmer and bulb models you install, plus manufacturer compatibility charts. This will make future upgrades much smoother.
A little planning now can save you from flickering lights and frustrating rewiring projects in the years ahead.

Leviton Decora Smart Switch Anywhere Companion Review — Leviton light switches gear aimed at buyers who want clear specs before they click through. Key figures include 3, 50, 2.8 .
FAQs: Dimmer Switches and LED Lighting
- Can I use a regular dimmer with LED bulbs? Only if the dimmer is specifically rated for LED loads. Standard (incandescent) dimmers often cause flickering, buzzing, or limited dimming range with LEDs.
- Why do my LEDs flicker on a dimmer? This is usually due to incompatibility between the dimmer electronics and the LED driver. Check manufacturer compatibility lists and try a different bulb or dimmer if needed.
- What is a “universal” dimmer? A universal dimmer is designed to work with a variety of bulb types, including incandescent, CFL, and LED. Always check that your specific LED bulb or fixture is listed as compatible.
- Do I need a neutral wire for LED dimmers? Many modern LED dimmers require a neutral wire for proper operation. Check before buying, especially if your home is older.
- How can I fix “dead zones” in dimming? Some dimmers allow low-end trim adjustment. Otherwise, try a different bulb with a better driver; quality varies widely.
Summary: Getting Your Remodel Lighting Right
Pairing dimmer switches and LED lighting doesn’t have to be a guessing game. By understanding dimmer types, checking compatibility charts, and choosing quality products, you can enjoy smooth, quiet dimming in every room of your remodel. Always check for required wiring (like neutral wires), match your dimmer and bulb for maximum compatibility, and don’t be afraid to test before committing to a full install.
For more in-depth advice on all things electrical, visit our main electrical remodeling guide for practical tips and detailed product reviews.
Checklist for Choosing and Installing LED-Compatible Dimmers
- Identify Your Lighting Needs: Determine if you need single pole, 3-way, or multi-location dimming.
- Verify LED Bulb Dimmability: Only use bulbs labeled as “dimmable.”
- Check Dimmer Compatibility: Cross-reference your LED bulb or fixture with the dimmer’s published compatibility list.
- Calculate Total Wattage: Add up the wattage of all connected LED bulbs to ensure it’s within the dimmer’s rated range (both minimum and maximum).
- Choose the Right Dimmer Type: Select “LED-compatible” or “universal” dimmers for best results.
- Inspect Your Wiring: Many modern dimmers require a neutral wire. Confirm availability in your switch box before purchase.
- Read Installation Instructions: Carefully follow manufacturer instructions for safe installation.
- Test Before Finalizing: Try the dimmer at various settings to ensure smooth operation, no flicker, and no buzzing.
Common Mistakes to Avoid When Pairing Dimmers and LEDs
- Using Old Incandescent Dimmers: These often cause flickering or buzzing with LEDs. Always upgrade to a compatible model.
- Ignoring Minimum Load Requirements: With LEDs’ low wattage, it’s easy to fall below the dimmer’s minimum load, resulting in poor performance.
- Overlooking Neutral Wire Requirement: Many new dimmers (especially smart models) require a neutral wire. Don’t assume your wiring supports this—check first.
- Mixing Bulb Brands or Types: Combining different brands or types of LEDs on the same dimmer can cause inconsistent dimming or flicker.
- Skipping Compatibility Checks: Not all dimmable LEDs work with all dimmers, even if both claim “compatibility.” Always consult compatibility charts.
- Incorrect Wiring in Multi-Location Setups: Installing a standard dimmer where a “companion” or “accessory” switch is needed can lead to malfunctions.
- Not Testing After Installation: Failing to test dimming at both low and high settings can leave issues unnoticed until later.
Maintaining Your Dimmer Switch and LED System
Proper maintenance ensures your dimmable LED system continues to perform smoothly for years after your remodel. Here’s how to keep everything in top shape:
- Clean Switches Regularly: Dust and debris can accumulate inside and around wall plates. Use a dry cloth or lightly dampened wipe—never spray cleaner directly onto the switch.
- Inspect for Signs of Wear: If you notice buzzing, flickering, or heat from the dimmer, check for loose wiring or overloaded circuits.
- Update Bulbs as Needed: If a bulb fails prematurely, replace it with the same brand and model to maintain compatibility.
- Monitor for Firmware Updates: For smart dimmers, periodically check the manufacturer’s app for firmware updates that can improve performance or compatibility.
- Avoid Overloading: Don’t exceed the maximum wattage rating for your dimmer switch, even if using low-wattage LEDs.
- Schedule Occasional Testing: Every few months, cycle the lights through their full dimming range to catch any developing issues early.
Regular attention to these areas will help you avoid common dimmer and LED issues, ensuring your remodeled lighting stays reliable and pleasant.
Frequently Asked Questions About LED Dimmers
Can I use any dimmer with LED bulbs?
No. Only use dimmers specifically rated for LED loads. Standard incandescent dimmers often cause flickering, buzzing, or limited dimming range with LEDs.
What happens if my total LED wattage is below the dimmer’s minimum load?
If you fall below the minimum load, you may experience flickering, lights not turning on, or erratic dimming. Choose a dimmer with a lower minimum load or add more bulbs to meet the requirement.
Why do my dimmable LEDs still flicker with a compatible dimmer?
Even with compatible products, issues can arise from inconsistent power supply, mixed bulb brands, or outdated dimmer firmware (in smart switches). Try using all bulbs from the same brand/model and ensure your dimmer is up to date.
Can smart dimmers control regular LED bulbs?
Yes—if the smart dimmer is rated for LED loads and your bulbs are dimmable. Always check the product documentation for compatibility.
Is it safe to install a dimmer myself during a remodel?
Many homeowners can install a dimmer switch if they’re comfortable with basic wiring and follow safety precautions. However, for 3-way or complex wiring, or if a neutral wire is required and not present, consult a licensed electrician.
Do I need to replace all my bulbs if I upgrade my dimmer?
For best results, use bulbs that are specifically listed as compatible with your new dimmer. Mixing old and new or different brands can lead to inconsistent performance.
How do I know if my switch box has a neutral wire?
Look inside the switch box for a bundle of white wires capped together—that’s usually your neutral. If you’re unsure, consult an electrician before purchasing a dimmer that requires a neutral wire.
What can I do if my LED bulbs buzz or hum after installation?
First, confirm both the bulbs and dimmer are compatible. Try swapping bulbs for another brand or model. If issues persist, consider upgrading to a higher-quality dimmer or consulting an electrician to check for wiring or grounding issues.
Troubleshooting Tips for Dimmer and LED Problems
- Flickering at Low Settings: Try increasing the brightness slightly, or check for minimum load issues.
- Buzzing Sounds: Test with a different brand of bulb or upgrade to a premium LED-rated dimmer.
- Lights Won’t Turn On: Double-check wiring, bulb installation, and that the dimmer’s minimum load is met.
- Limited Dimming Range: Some LEDs only dim down to 20–30% brightness. Look for bulbs with a wider dimming range or try another dimmer model.
- Inconsistent Dimming with Multiple Switches: Use only compatible companion switches and ensure all wiring matches the manufacturer’s diagrams.
If problems persist, consult the manufacturer’s support resources or a licensed electrician to ensure safe, reliable operation in your remodeled space.
Our content is researched and drafted with AI assistance and reviewed by our team. Product details come from published specs, manufacturer information and owner reviews.